What Are the Most Common Window Tinting Mistakes Vehicle Owners Make?

Many vehicle owners invest in window film to block solar heat, reduce glare, and protect their automotive interiors from fading. However, car owners seeking quality window tinting in little rock often fall victim to avoidable blunders during and after the application process. These mistakes can quickly ruin your vehicle's aesthetic appeal, impair your driving visibility, and waste your hard-earned money. Understanding the most frequent errors is the first step toward safeguarding your vehicle and ensuring your upgrade lasts for years.
When window film is applied incorrectly, the consequences range from cosmetic issues like bubbling to severe safety hazards like nighttime visual distortion. This comprehensive guide details the major installation errors, post-care mistakes, and environmental factors that affect your vehicle's glass. By learning how to avoid these common pitfalls, you can protect your automotive investment and achieve a clean, professional finish.
What Is the Most Common Mistake Made When Window Tinting?
The most common mistake made when window tinting is inadequate glass preparation prior to applying the film. Failing to remove microscopic dust, pollen, grease, and adhesive residue prevents the film from bonding correctly, resulting in permanent air bubbles and early peeling.
The Problem with Rushed Cleaning
A quick wipe with a standard glass cleaner is never enough to prepare a vehicle's window for film application. Automotive glass constantly accumulates road grime, exhaust oils, and environmental contaminants that are invisible to the naked eye. If these impurities are not surgically removed with professional clay bars and specialized slip solutions, they remain trapped under the film forever.
Environmental Contamination Risks
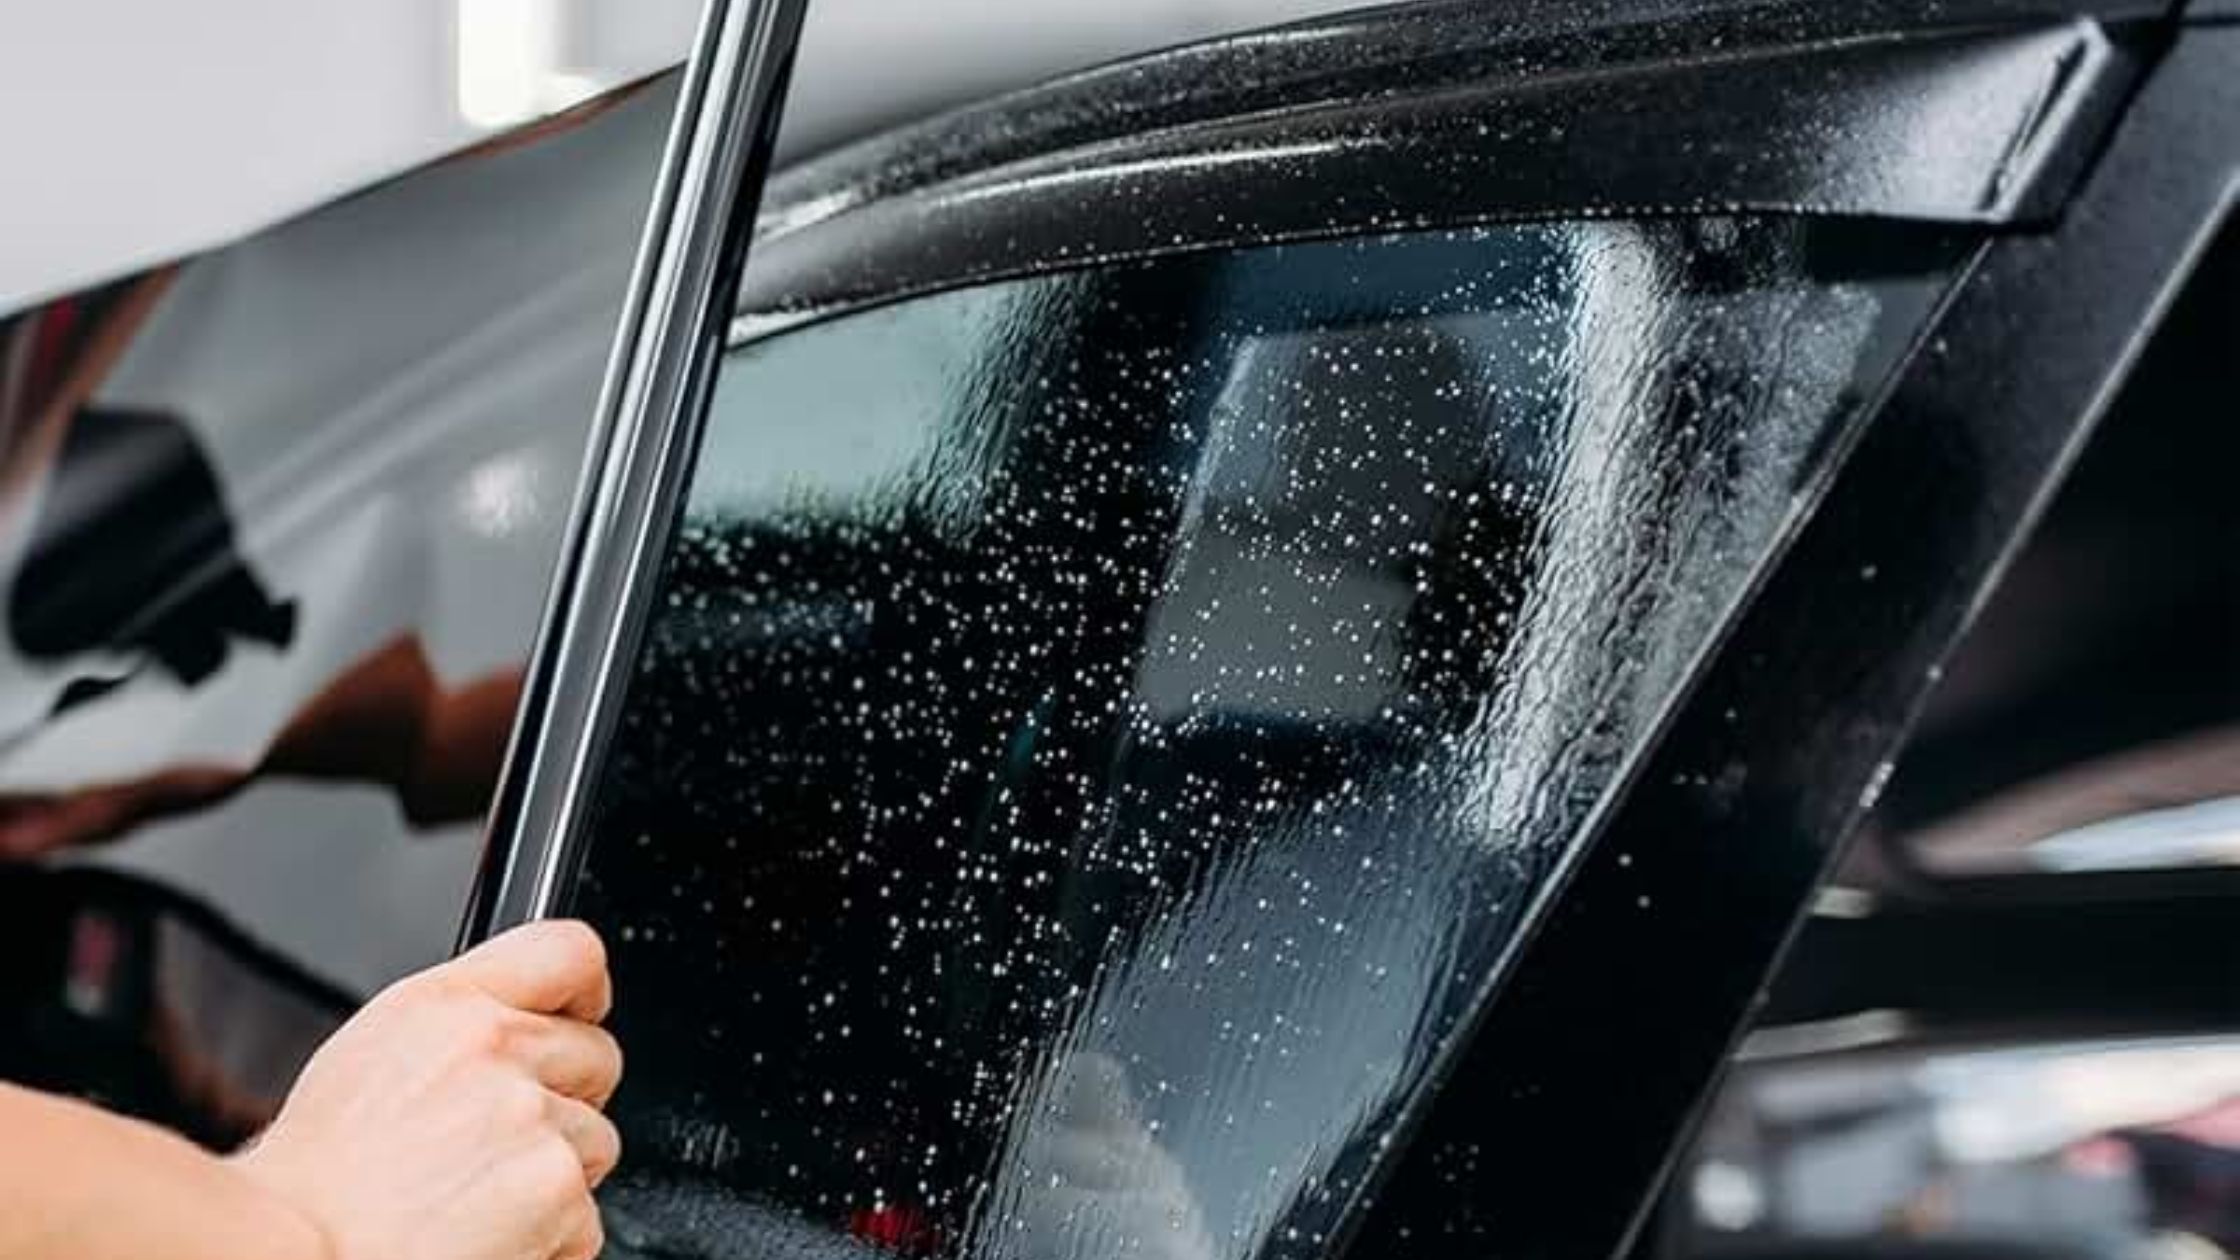
Attempting to install window tint in an open garage, driveway, or unsealed shop space introduces airborne particles to the wet glass. Even a gentle breeze can carry hundreds of dust specks or seasonal pollen grains onto the adhesive side of the film. Once the film is squeezed down, these tiny particles create raised bumps that cannot be flattened out.
Top Tint Film Installation Errors During the Application Process
The most frequent tint film installation errors occur when installers use low-quality dyed materials, cut the film inaccurately, or apply improper heat-shrinking techniques on curved glass surfaces. These technical mishaps lead to light gaps, edge-lifting, and severe optical distortion.
1. Dust and Contaminants Trapped Under the Film
Even minor airborne debris will ruin the bond between the glass and the window film. Professional shops utilize specialized water filtration and air purification systems to keep their workspace completely free of floating dust. When DIYers or low-grade shops ignore these measures, the trapped dust creates unsightly white specks and air pockets.
2. Poor Heat-Shrinking on Curved Windshields
Rear windshields and highly curved side windows require the film to be shaped using a specialized heat gun before application. If an installer applies too much heat or shrinks the film unevenly, it damages the polyester structure. This thermal mistake causes the film to develop a blurry, milky appearance that distorts your view of the road.
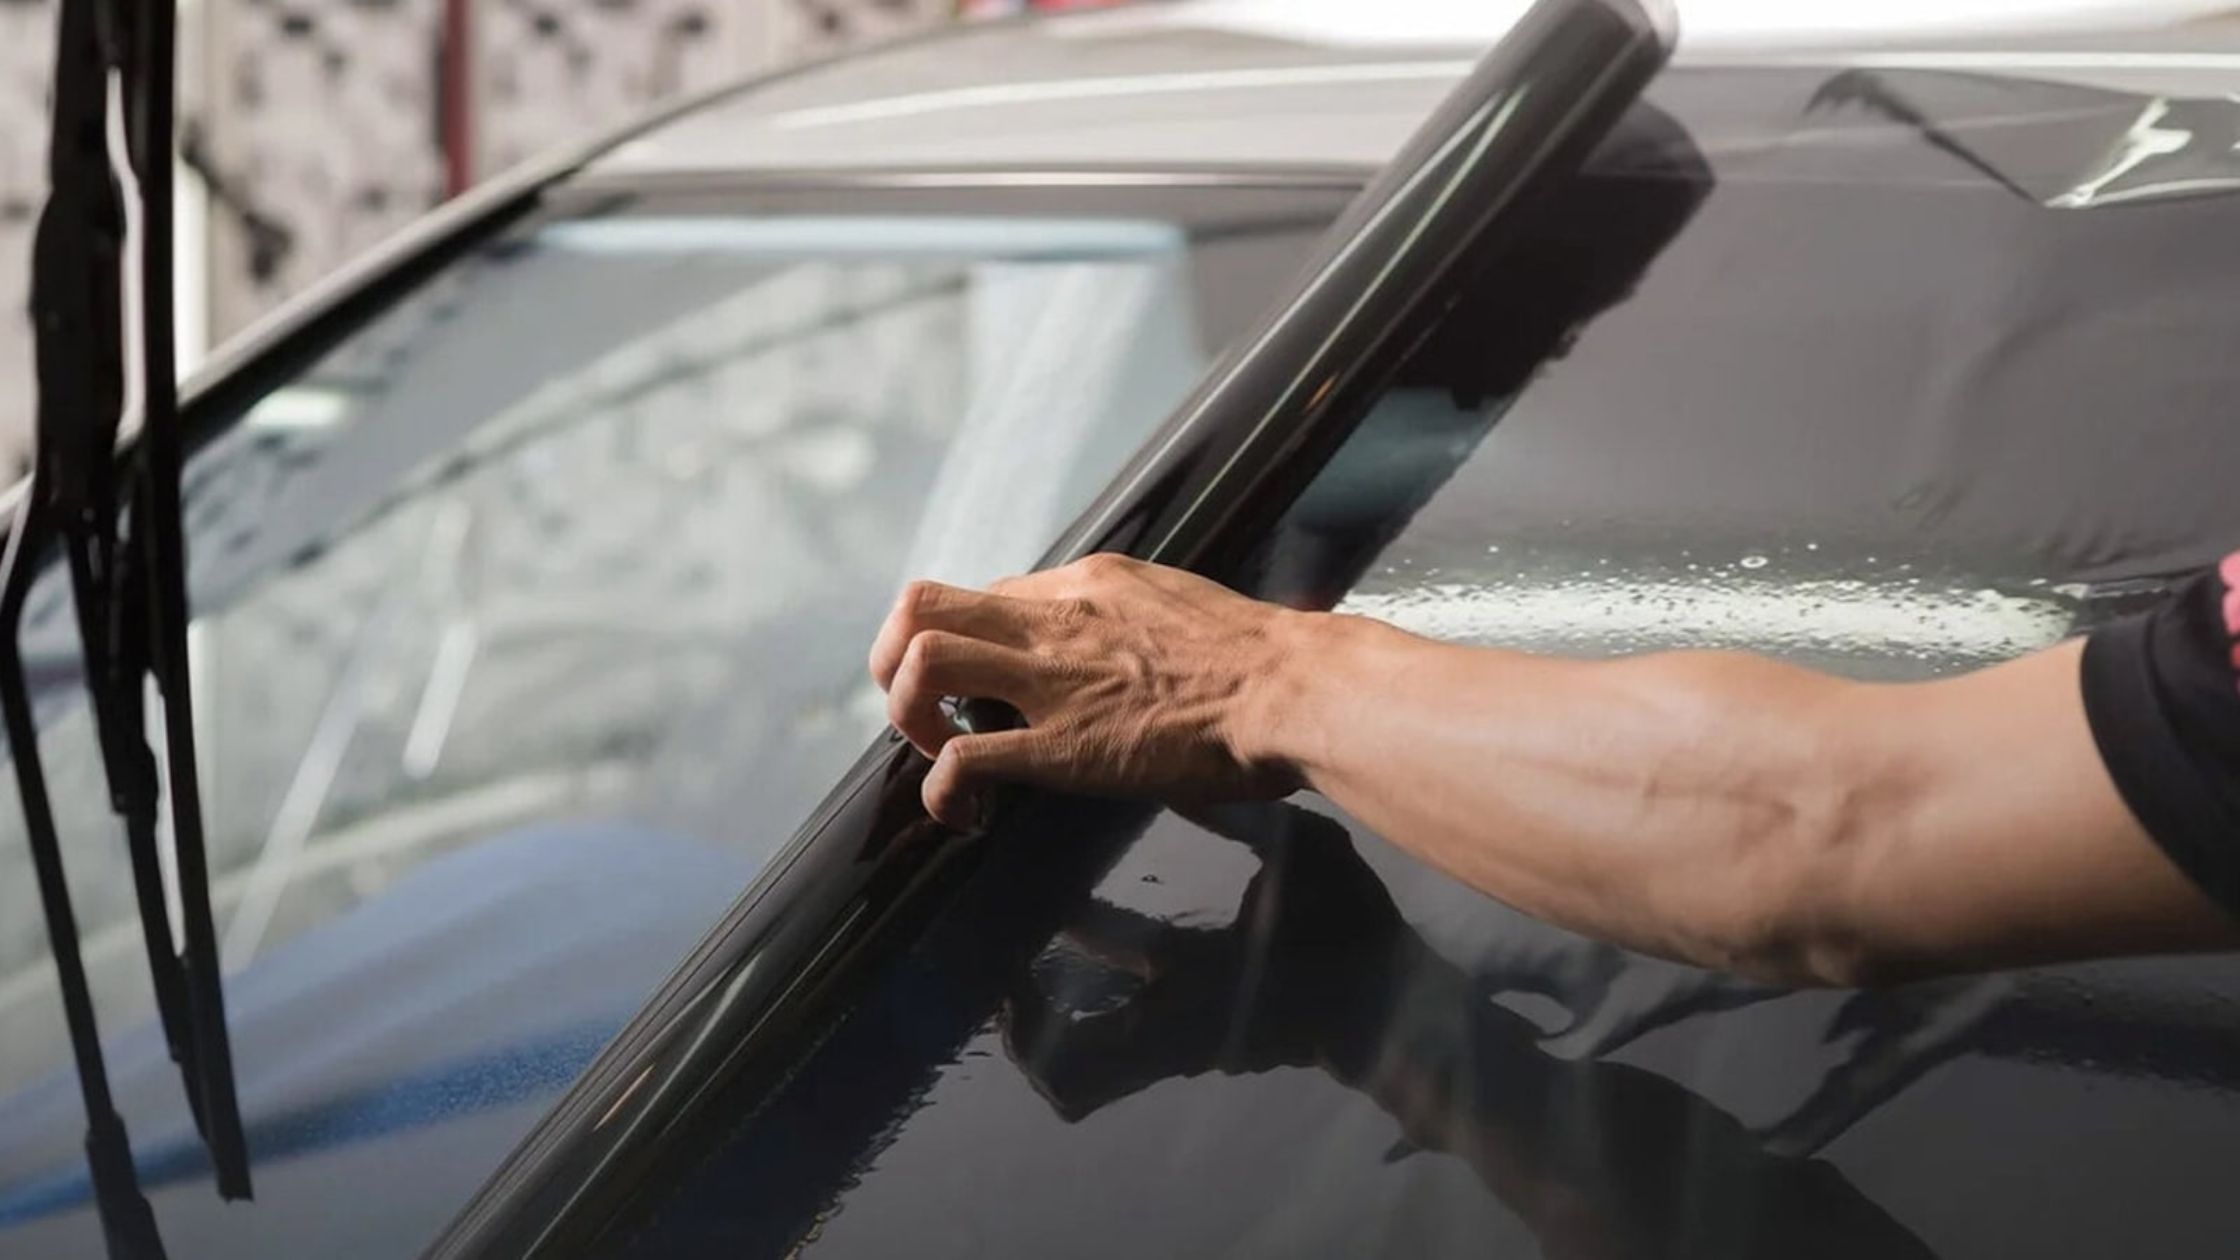
3. Overlapping the Window Gaskets
Window film must be cut with extreme precision to sit perfectly flush with the edges of your glass without touching the surrounding rubber gaskets. If the film overlaps the rubber seal even slightly, it will curl and lift every time the window is rolled up or down. Over time, this friction pulls the film away from the glass and collects dirt along the loose edges.
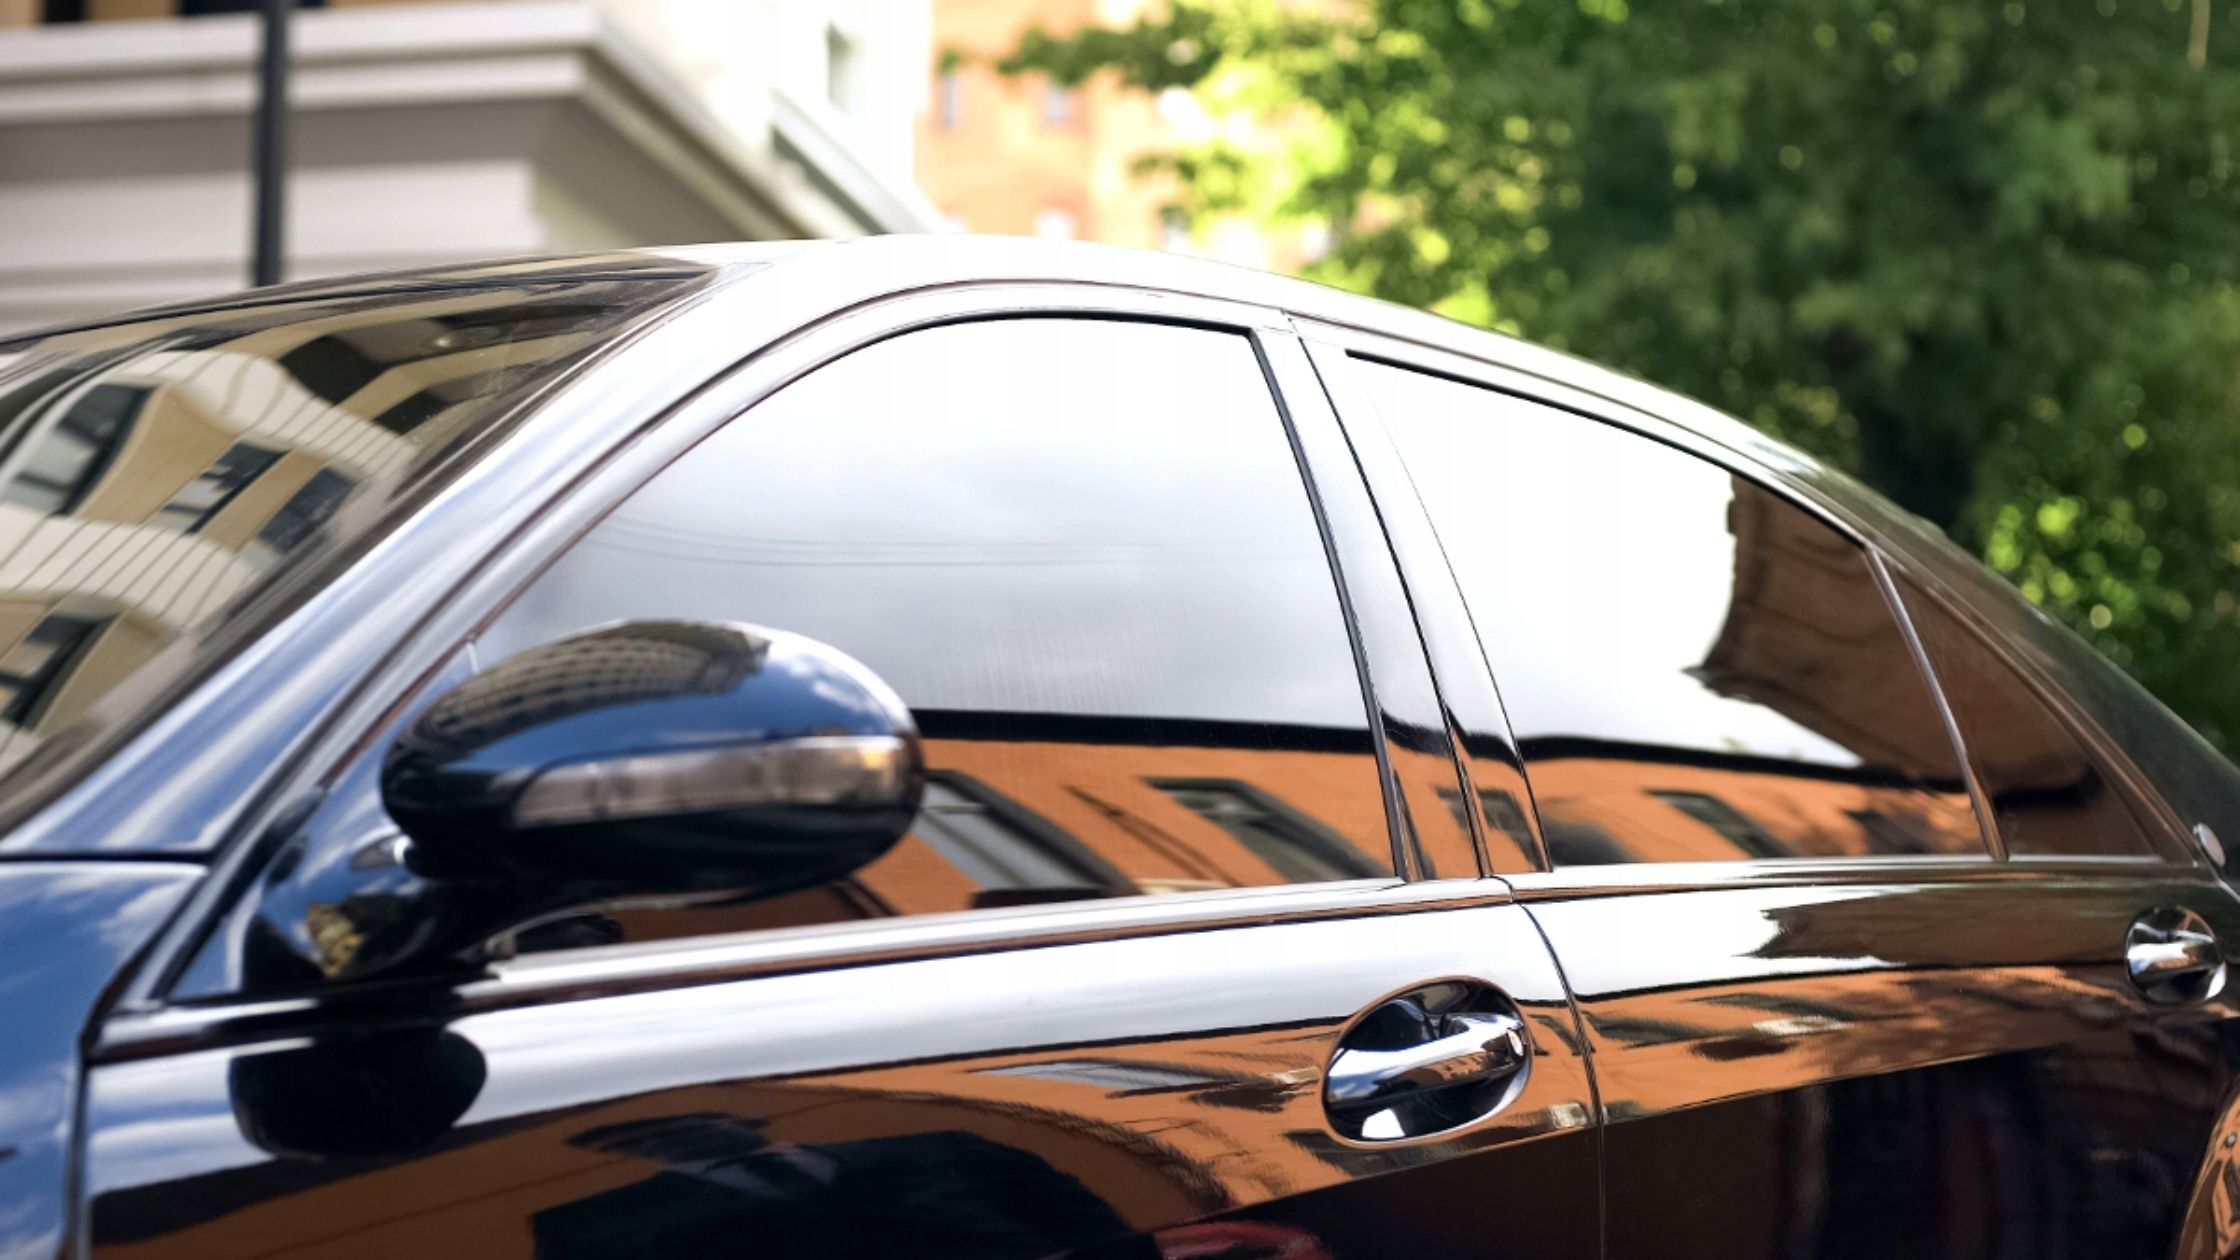
4. Choosing Cheap Dyed Films Over Ceramic
Opting for low-cost dyed films is a major financial mistake because organic dyes break down rapidly under solar radiation. Premium carbon or ceramic films rely on advanced inorganic materials to block heat and ultraviolet rays. These high-grade options will not bubble, fade, or turn purple after a few seasons in the sun.
Crucial Window Tint Maintenance Mistakes After Installation
The biggest window tint maintenance mistakes include rolling down the side windows before the adhesive cures, cleaning the glass with ammonia-based chemicals, and using abrasive materials like paper towels. These actions degrade the protective scratch-resistant coating and loosen the adhesive bond.
1. Rolling Down Windows Too Soon
Newly installed window film requires a specific curing period to allow the water-activated adhesive to dry and bond with the glass. Rolling down your windows too early causes the rubber window gaskets to grab the top edge of the film and peel it down. Drivers must leave their windows rolled up completely for the first few days to prevent this damage.
2. Using Ammonia-Based Glass Cleaners
Ammonia is a harsh chemical compound that actively eats through the protective topcoat of automotive window films. Regular use of ammonia-based sprays causes the film to become brittle, hazy, and prone to cracking. Always choose specialized, ammonia-free glass cleaners that are specifically labeled as safe for aftermarket window tints.
3. Wiping Glass with Abrasive Materials
Using paper towels, rough sponges, or old cotton shirts to clean your windows will leave micro-scratches across the film's surface. These tiny scratches accumulate over time, destroying the optical clarity of your windows and creating a distracting haze under direct sunlight. A clean, high-gsm microfiber cloth is essential for protecting tinted windows from abrasion.
4. Ignoring Curing Time and Weather Conditions
The moisture used during the installation process must evaporate naturally through the semi-porous structure of the film. Parking your vehicle in a dark, cold garage immediately after installation can stall this process and trap moisture pockets. Allowing the vehicle to sit in controlled warmth accelerates proper curing without damaging the adhesive bond.
What Should You Look for in Professional Window Tinting in Little Rock?
A professional installation should always take place inside a climate-controlled, dust-free indoor bay using specialized tools and computer-cut patterns. It should also be backed by a comprehensive manufacturer lifetime warranty.
Selecting the right provider for window tinting in little rock involves looking past the cheapest price tag to focus on quality workmanship and clean facilities. A premium shop will protect your vehicle's sensitive door panel electronics from moisture damage while using purified, deionized water during the application process.
The Importance of Climate-Controlled Bays
A professional shop operates within a sealed, wet-down, climate-controlled environment to prevent outdoor contaminants from ruining your film. Mobile operations or open-air garages are highly susceptible to wind, dust, and pollen, which inevitably get trapped under the film. Indoor climate control also ensures the adhesive cures evenly from the very beginning.
Precision Computer-Cut Film Patterns
Master technicians use advanced software plotters to cut the window film to the exact dimensions of your vehicle's make and model. This computerized approach eliminates the need to cut the film by hand directly on your vehicle's glass with a razor blade. Hand-cutting carries a high risk of scratching your glass or slicing through your rear defroster lines.
Verifiable Local Reputation and Guarantees
A reputable auto shop will always display verified feedback from local drivers openly. Reading through authentic customer testimonials is one of the best ways to verify a shop's local standing, especially when they have maintained 353 Google reviews and a perfect 5-star rating as of today. This track record ensures you avoid the stress of a failed tint job and secure a beautiful, long lasting result.
How Does Local Arkansas Weather Impact Newly Tinted Windows?
The high humidity and intense solar heat in Pulaski County significantly affect the adhesive curing process of newly tinted vehicle windows. High humidity levels slow down moisture evaporation, while extreme summer heat can cause premature adhesive breakdown in low-quality films.
Daily commutes through Hillcrest or parking your vehicle in the open lots of the River Market District will expose your windows to intense solar radiation. In the hot summer months, the temperature inside a parked car can quickly exceed 140 degrees Fahrenheit. If an installer uses cheap materials or fails to apply the film correctly, this extreme heat causes the adhesive to fail, leading to off-gassing and bubbly distortion.
Furthermore, the humidity near the Arkansas River can extend the necessary curing window. While a tint job might dry in three days during a dry summer, it can take up to three weeks during a wet, cold winter in West Little Rock. A skilled local technician will always analyze these seasonal factors and provide custom post-care instructions tailored to the current weather.
Summary of Common Tint Failures and Prevention Steps
Understanding the technical causes of window film failure allows you to make informed decisions for your vehicle. Most common issues are entirely preventable when using the correct installation environment and proper care techniques.
The table below highlights the differences between common installation mistakes, their symptoms, and professional prevention methods:
FAQs About Common Window Tinting Mistakes
Can I clean my tinted windows immediately after installation?
No, you should never clean your tinted windows for at least one week after installation. Cleaning the glass too early can disrupt the curing process, shift the film out of place, or damage the delicate adhesive bond before it has fully hardened.
Why does cheap window tint turn purple and bubble?
Cheap window tint turns purple because the organic dyes used in the film degrade under constant exposure to ultraviolet solar radiation. The bubbles form because the low-grade adhesive breaks down under thermal stress, releasing gases that become trapped beneath the film.
How long should I wait to roll down my windows in Arkansas?
In Arkansas, you should wait at least 3 to 5 days to roll down your windows during the warm summer months, and up to 2 weeks during the humid winter season. Keeping your windows rolled up prevents the door gaskets from catching and peeling the damp edges of the new film.
Will a bad tint job damage my rear defroster lines?
The installation itself rarely damages the defroster lines, but removing a bad, bubbling tint job is highly likely to tear the delicate metallic heating grids. If an amateur tries to scrape off old film with a razor blade or pulls it off without professional steam equipment, they can easily ruin your rear defroster.
What is the best way to clean and protect tinted windows?
The best way to clean and protect tinted windows is to use a soft, clean microfiber cloth and an ammonia-free glass cleaner. Avoid using paper towels, abrasive scrubbing pads, or household multi-surface sprays, as these will scratch and degrade the film's protective scratch-resistant coating over time.
Getting the Quality Your Vehicle Deserves
Avoiding common window tinting mistakes is crucial to protecting your vehicle's physical safety, visual clarity, and overall resale value. Opting for cheap materials or choosing an uncertified, open-air installation often leads to a much larger bill to correct the mistakes down the road. Investing in premium ceramic materials and professional-grade application is the only way to guarantee a lifetime of heat rejection and optical clarity.
Finding a reputable local shop ensures you get the job done right the first time. If you are ready to upgrade your ride or need to resolve a peeling window film, you can contact us to speak with an experienced specialist who can assess your glass. Our certified team is ready to guide you through selecting the ideal shade and material for your unique vehicle.
When you want long lasting protection from the intense Southern heat without compromising your vehicle's aesthetics, working with a certified studio makes all the difference. For flawless, durable, and legally compliant window tinting in little rock, local car owners rely on the trusted expertise of Extreme Clean Auto Studio to deliver pristine, bubble-free results that stand the test of time.
Get a quote
What happens next?
Fill out all the info and we will contact you via email within 24 hours or feel free to call or text.
BY APPOINTMENT ONLYSat: Closed
Sun: Closed